
Table of Contents
You've decided to learn banjo. Maybe a banjo is already leaning in the corner, maybe you're still shopping, and either way the same questions come up fast: what should a first banjo do that a bad one won't, how much do you really have to practice, and how long before it sounds like music instead of a typewriter? Every new banjo player asks some version of them.
Greg Cahill has been answering them for 52 years. Greg founded Special Consensus, the first touring bluegrass band out of Chicago, and he has taught banjo at Chicago's Old Town School of Folk Music for 52 years. His answers are plainer than most lesson books: check that the banjo holds its tune, practice slow in small pieces, and stop hitting the strings so hard. Here's what he'd tell anyone starting out, and how we'd match it to a banjo.
Before you learn banjo, check the banjo
Greg's first test has nothing to do with brand or price. Tune the banjo, play it a while, and see whether it stays there. On a cheaper banjo the tuners are often the weak spot, and a beginner has no way of knowing that the problem is the hardware and not their ears.
"I think the main thing is tune it up and see if it stays in tune."After that, his checklist is short, and you can run it in a store or on the first day a banjo arrives at your house:
- Tuning stability: it holds pitch through a few minutes of playing. If it drifts every song, you'll spend your practice time tuning.
- Action: the strings shouldn't sit a quarter inch off the fingerboard, but too low and they buzz. Greg looks for about an eighth of an inch, or a hair less, up at the heel of the neck.
- Comfort: your first chord shapes shouldn't hurt. If pressing a string down feels like work, the setup is fighting you.
- Even volume: every string should sound about as loud as the others. One quiet or buzzy string can point to a neck that isn't right.
None of that requires an expensive banjo. Greg learned on a Sears Silvertone he ordered out of the catalog and played it for four or five years. What it requires is a banjo that's been set up properly, and that's where the banjo is harder than most instruments.
Why setup matters more on a banjo
A banjo's bridge isn't glued down. The only thing holding it in place is string tension, so it can slide toward the neck or the tailpiece, and every move changes the intonation. If your banjo "won't tune," the bridge may have wandered, or a tuner may be slipping. Greg's advice is to have someone who knows banjos show you where the bridge belongs on your own banjo, because that one lesson can keep it out of the garbage can.
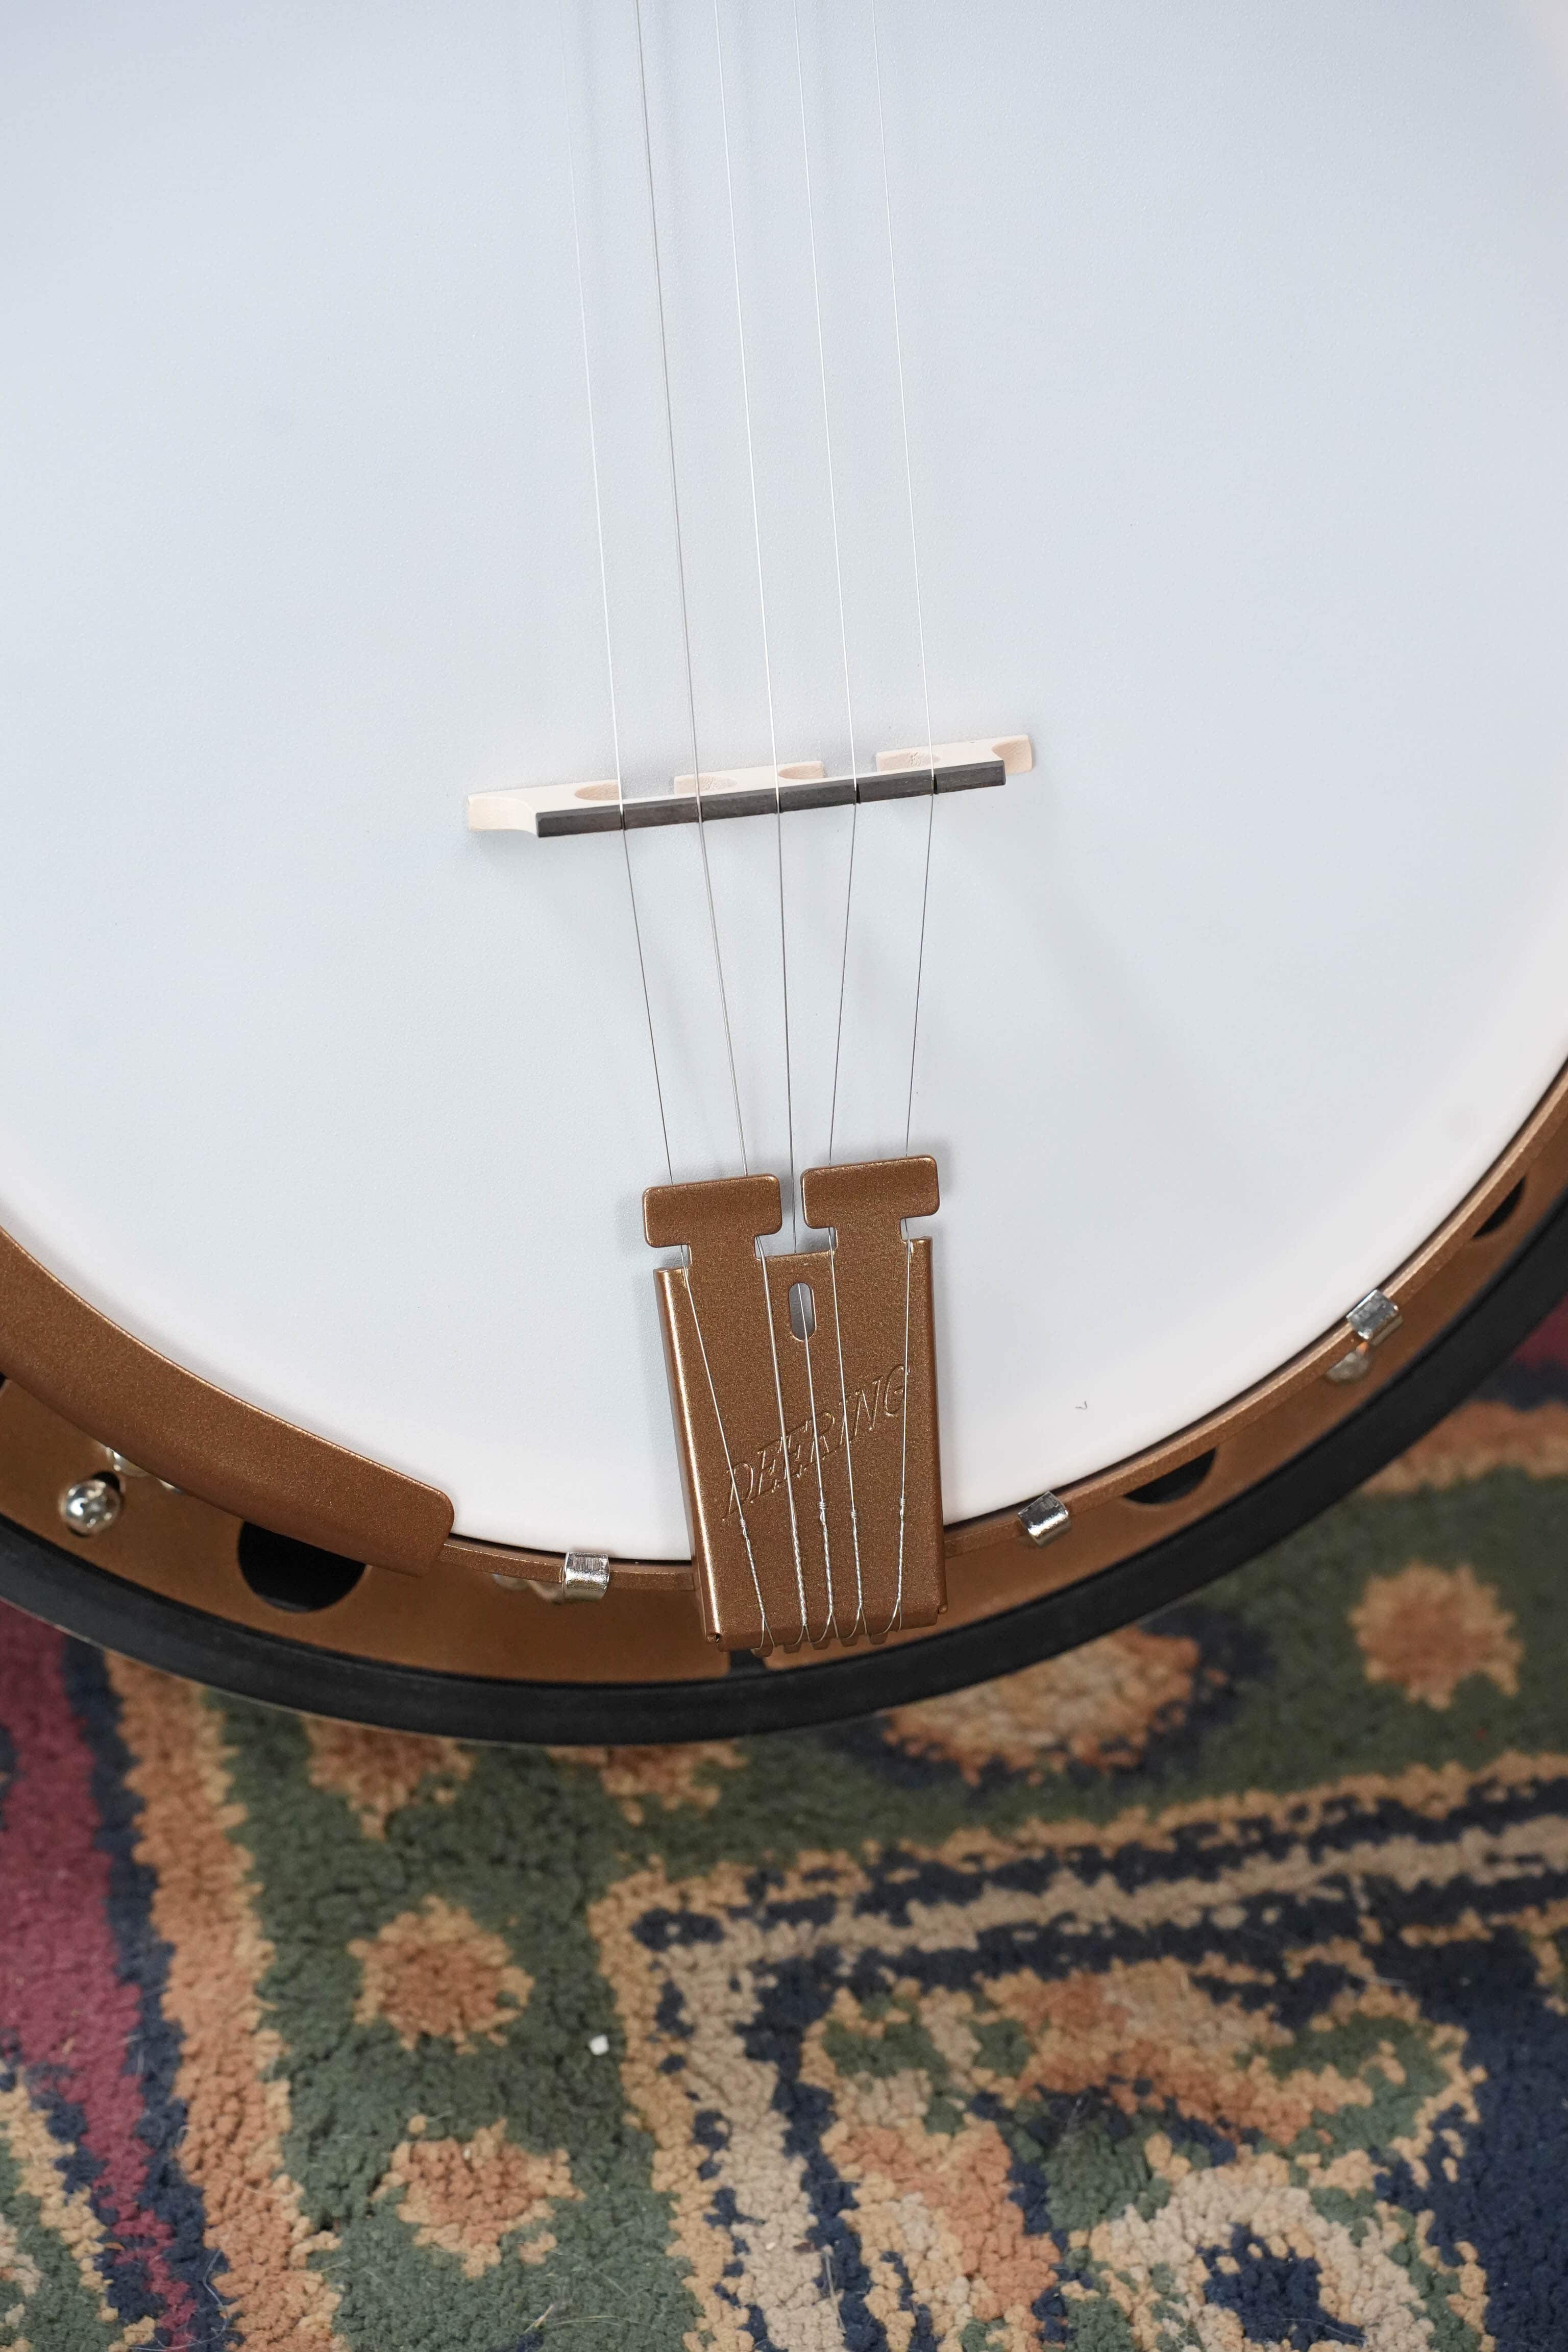
There are more moving parts after that: head tension, the tailpiece, the neck, the fifth-string peg. It's easy to end up with a good banjo that's poorly set up, and that happens on a banjo more often than on a guitar. That's why every banjo we sell goes across the bench for our 23-Point Professional Inspection before it ships, so the action, the bridge and the tuners are already right when you open the case.
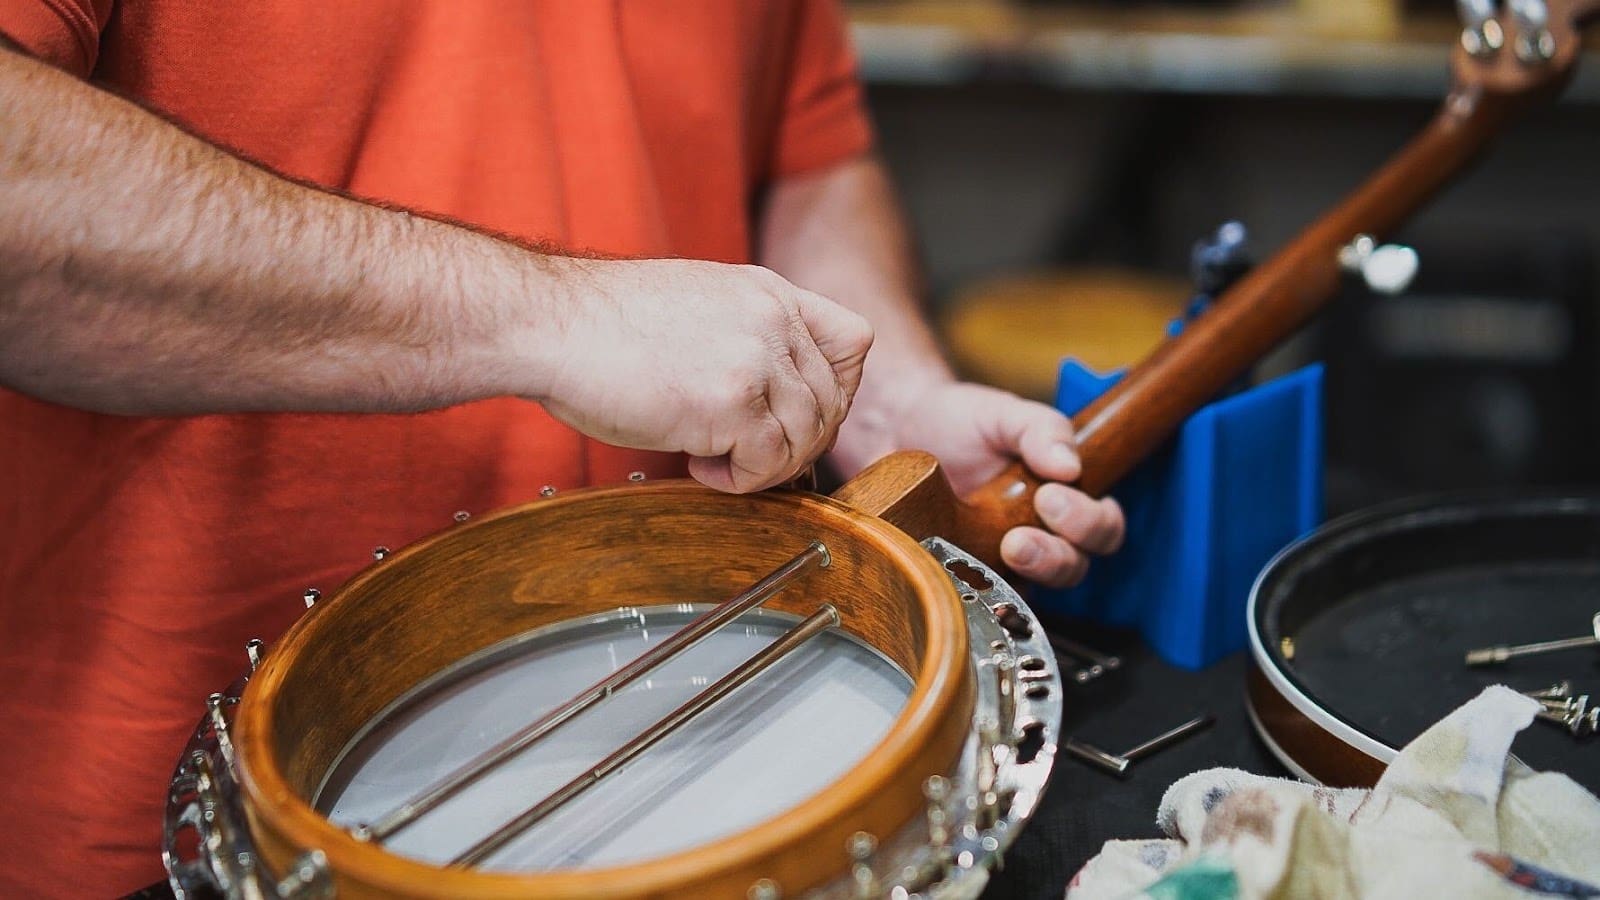
Jump to: what to look for in a first banjo at 1:56 · how long to practice at 10:09 · how long it takes to learn banjo at 20:07 · the three biggest beginner mistakes at 29:06.
How long does it take to learn banjo?
Greg's answer depends on what you mean by "learn," since you never stop learning something new. For a player who practices with some care, he lays out the first stretch like this:
- The first lesson or two: tuning, holding the banjo, where both hands go, and the basic roll patterns for the right hand.
- The next two weeks to a month: three rolls you can play cleanly, plus the three chord shapes he calls the F position, the D position and the bar.
- Then a first tune, and with it the left-hand techniques: slides, hammer-ons and pull-offs.
- From there, licks: a roll pattern with a left-hand technique added, which is what makes it sound like bluegrass.
"In a couple months you can probably play a couple tunes."That's a couple of months of real practice, with no jumping ahead to full speed before you can make a D position. Greg has one more tip for the left hand: a slide, a hammer-on or a pull-off is two notes, and you should hear both. Rushing through it and calling it close is what he calls sneaking through it, and the faster you play, the worse it sounds. If you want to learn banjo with a plan, this is the whole path:
| Stage | What you're working on | Greg's rough timeline |
|---|---|---|
| Getting started | Tuning, posture, hand position, first rolls | A lesson or two |
| Rolls and chords | Three rolls; the F, D and bar positions | Two weeks to a month |
| First tunes | Slides, hammer-ons, pull-offs, licks | About two months to a couple of tunes |
| Beyond | New keys, improvising, your own sound | As long as you keep playing |
How much should you practice?
Everybody who sets out to learn banjo asks for a number, and Greg won't give one, because it's different for everybody. Some teachers say an hour a day, others say 15 minutes. His version is to do what you can, block out a half hour instead of 20 minutes when you're able to, and play every day if you can. He even changed his mind about leaving the banjo out on a stand: five spare minutes on hold on a phone call can be the five minutes where a lick finally makes sense.
We'd add one thing: know why you want to learn banjo in the first place. If your goal is six or eight tunes to play with friends over the next five years, half an hour two or three times a week will get you there, and there's nothing wrong with that goal. If you're chasing the players on your favorite records, it'll take every free minute you've got, which is what it took for Greg.
How you practice matters more than how long. Greg gets the tune in his ears before he trusts the tab, and then breaks it into two-measure pieces: the kickoff, then the next lick, each played until it's right before the pieces go together. Playing a solo top to bottom with the same mistake in it 14 times doesn't fix the mistake. The two-measure habit pays off later, too, because once you know a lick fills two measures, you can drop it into a different song, and that's how improvising starts.
Three beginner mistakes to avoid as you learn banjo
After 52 years of students, Greg's list of the three biggest mistakes is short, and all three are about your hands.
1. Playing too fast, too soon
Speed comes from playing it right slowly. Play sloppy and fast and you get used to sloppy, and then you're sneaking through whole tunes. When something is clean at one tempo, bump the metronome up two notches. You'll hardly notice, but do it three times and you're playing a lot faster without having felt the climb.
"If you can't play it slow, you're never going to play it right fast."2. Hitting the strings too hard, in the wrong place
Greg played so hard with medium-gauge strings that he broke them constantly, until J.D. Crowe, his mentor, showed him a better right-hand position and told him he didn't have to play hard, he just had to be accurate. Greg's camp class on it is called "It's All in the Wrist." The sweet spot is about an inch in front of the bridge. Strike the string with the middle of the pick, not the edge, and keep the thumb straight so the thumb pick meets the string square. Keep the wrist relaxed rather than bent down, because a bent wrist pulls on the tendons and the tone suffers. Anchoring one or two fingers on the head is fine; Alison Brown anchors one.
3. A cramped left hand
Keep the thumb behind the neck and the wrist from arching, and bring your fingers down square to the fingerboard so one doesn't lean on the next string and mute it. Clean chord shapes take longer than anybody expects. Greg's trick for remembering them is to think diagonal: your ring, middle and index fingers make a diagonal one way for the F position and the other way for the D position.
Which banjo to learn on
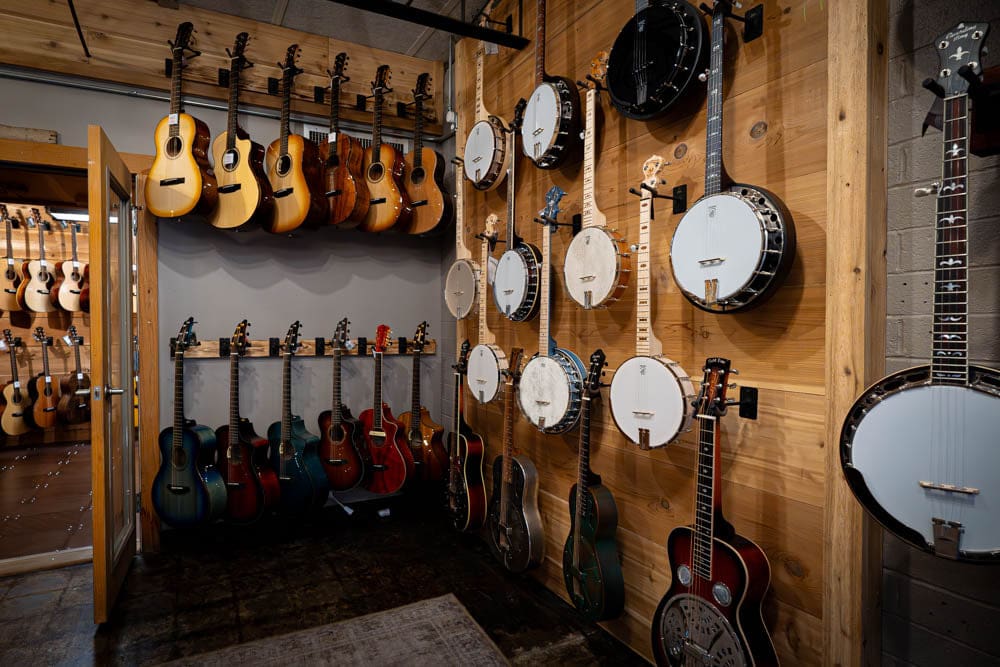
If Earl Scruggs and the three-finger rolls are why you're here, start on a resonator banjo. If you're drawn to old-time and clawhammer, our clawhammer vs three-finger lesson guide walks through the first lesson in each style and the banjo each one wants. Here's what's on the wall today:
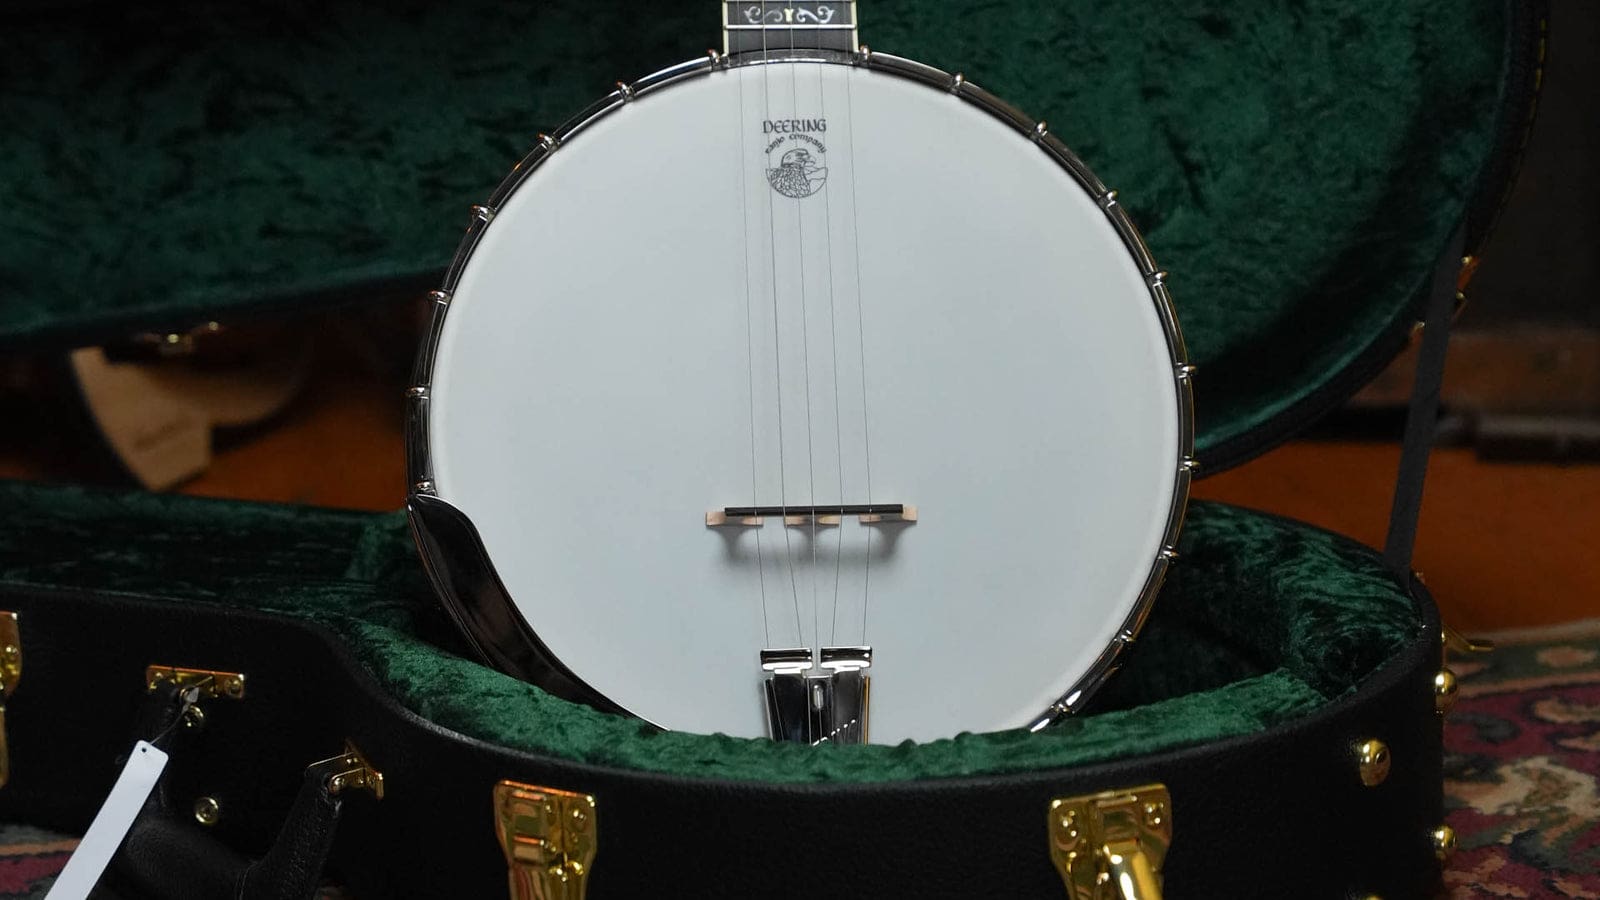
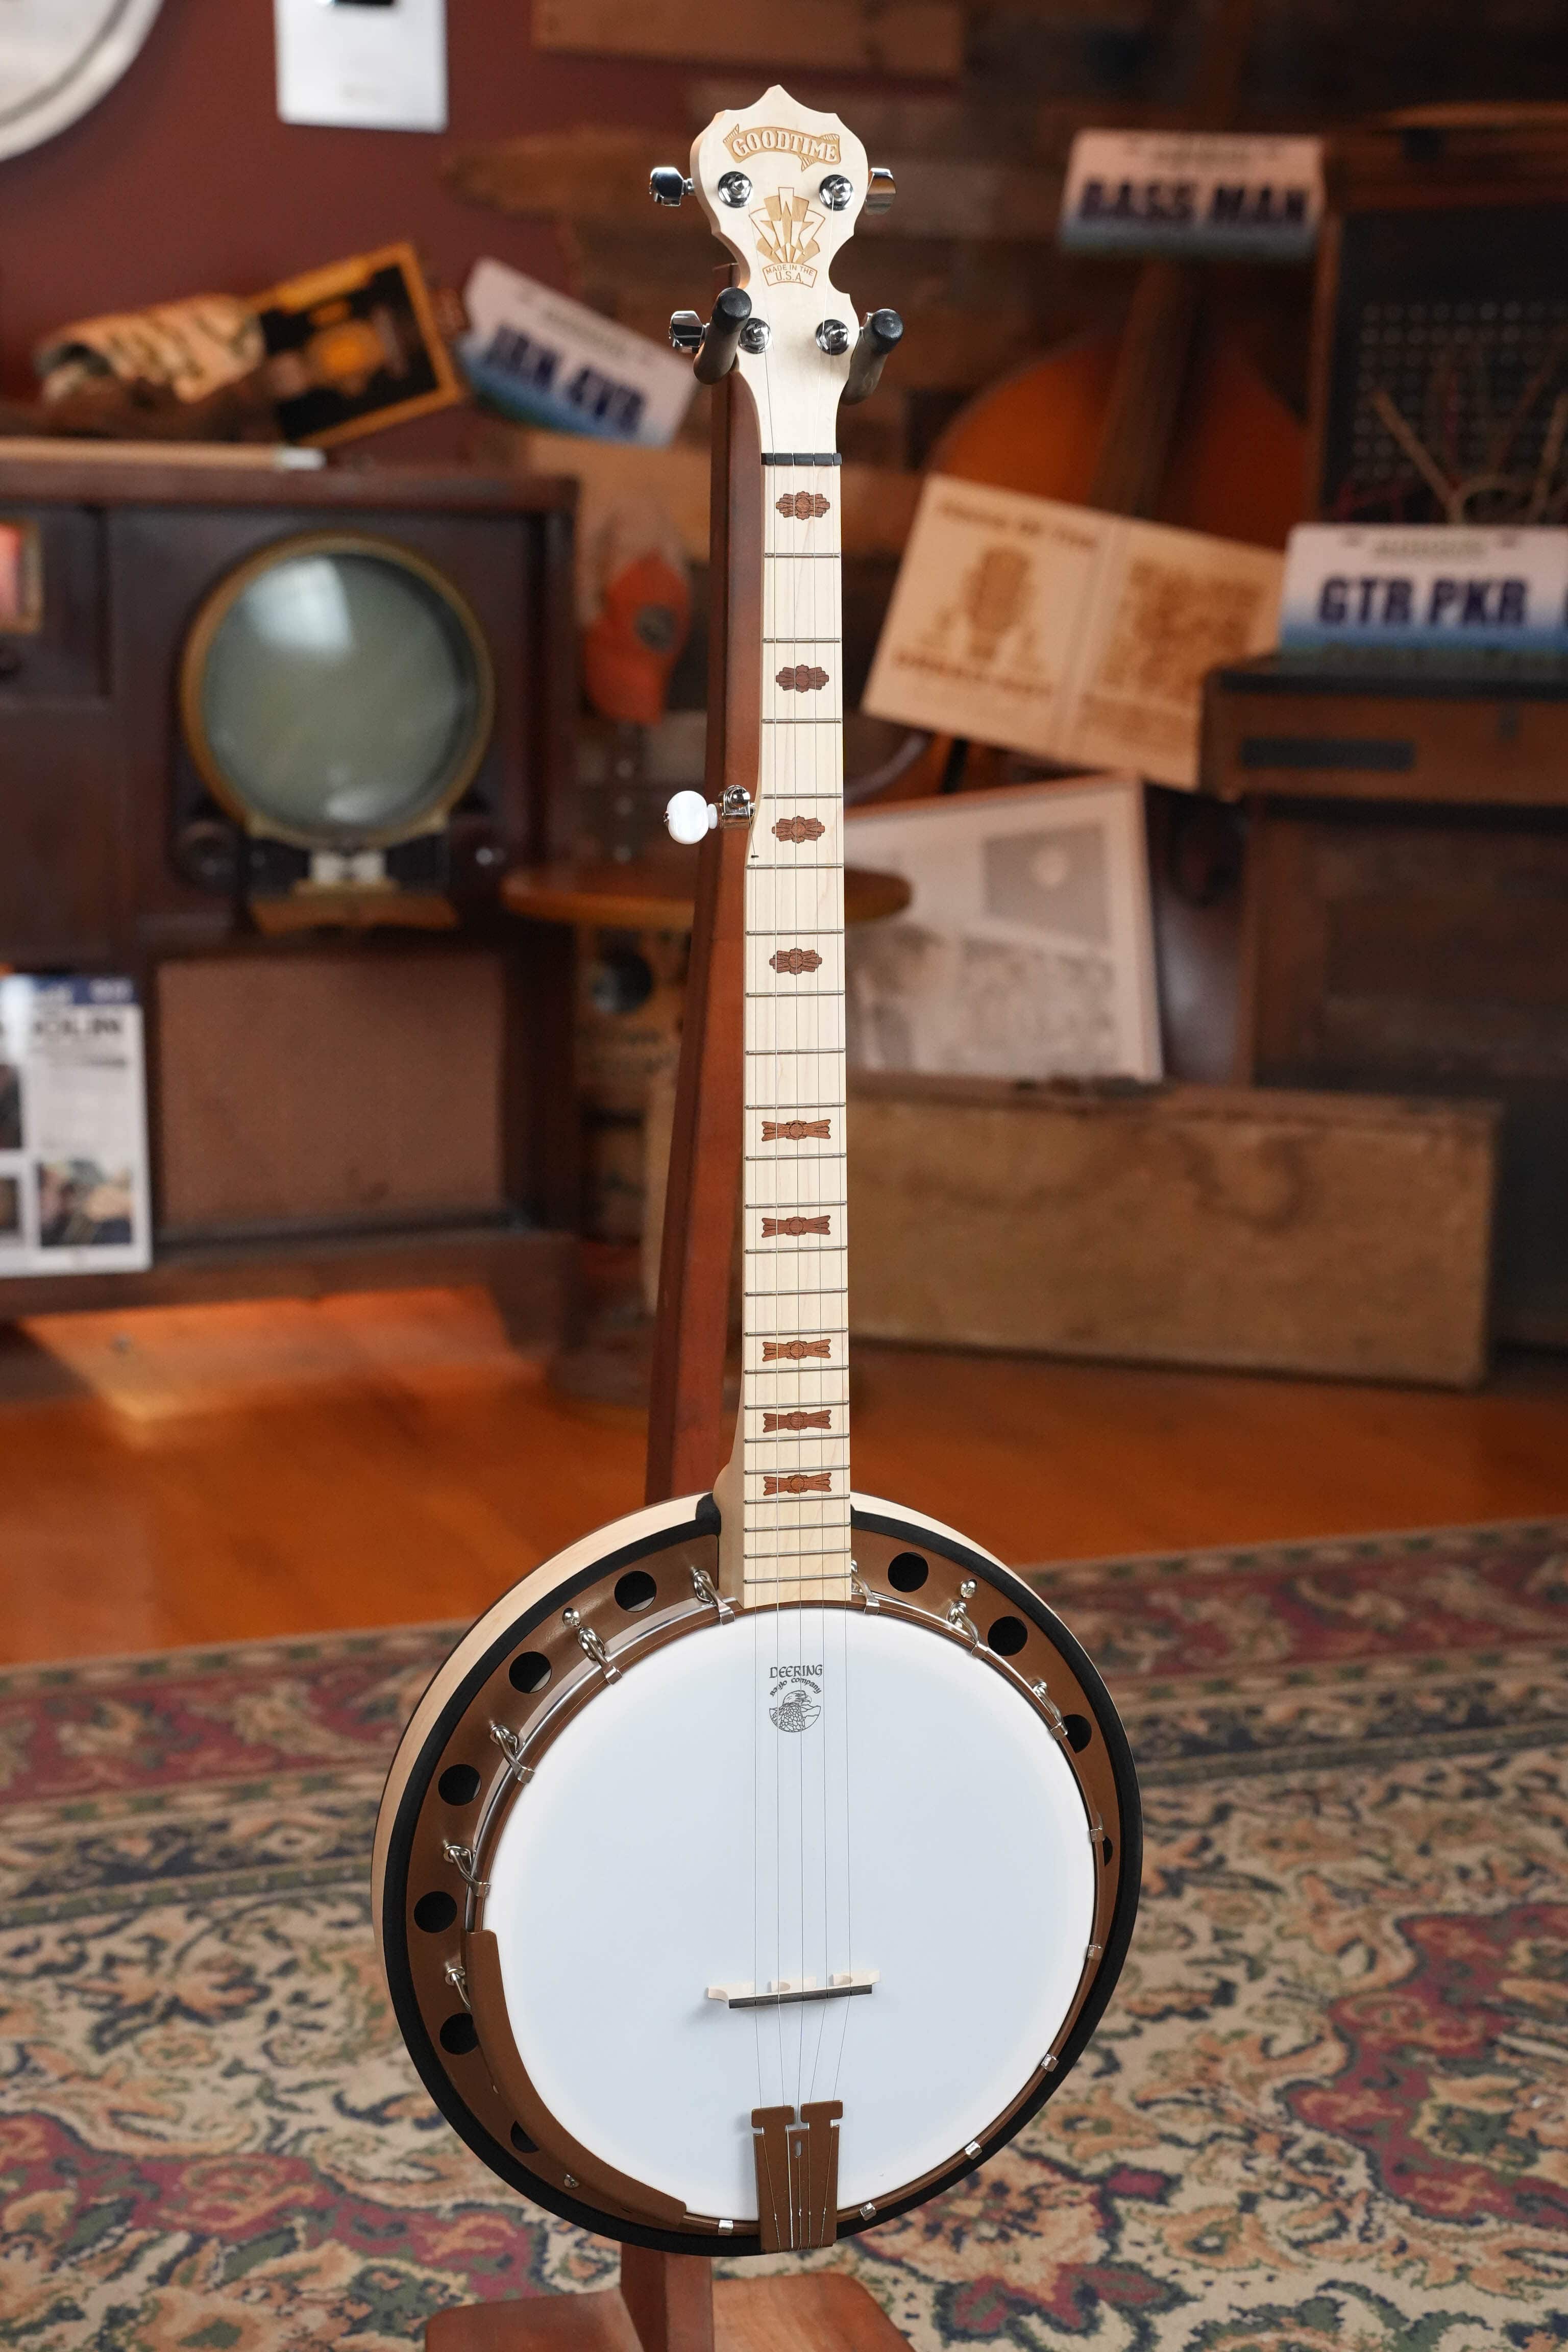
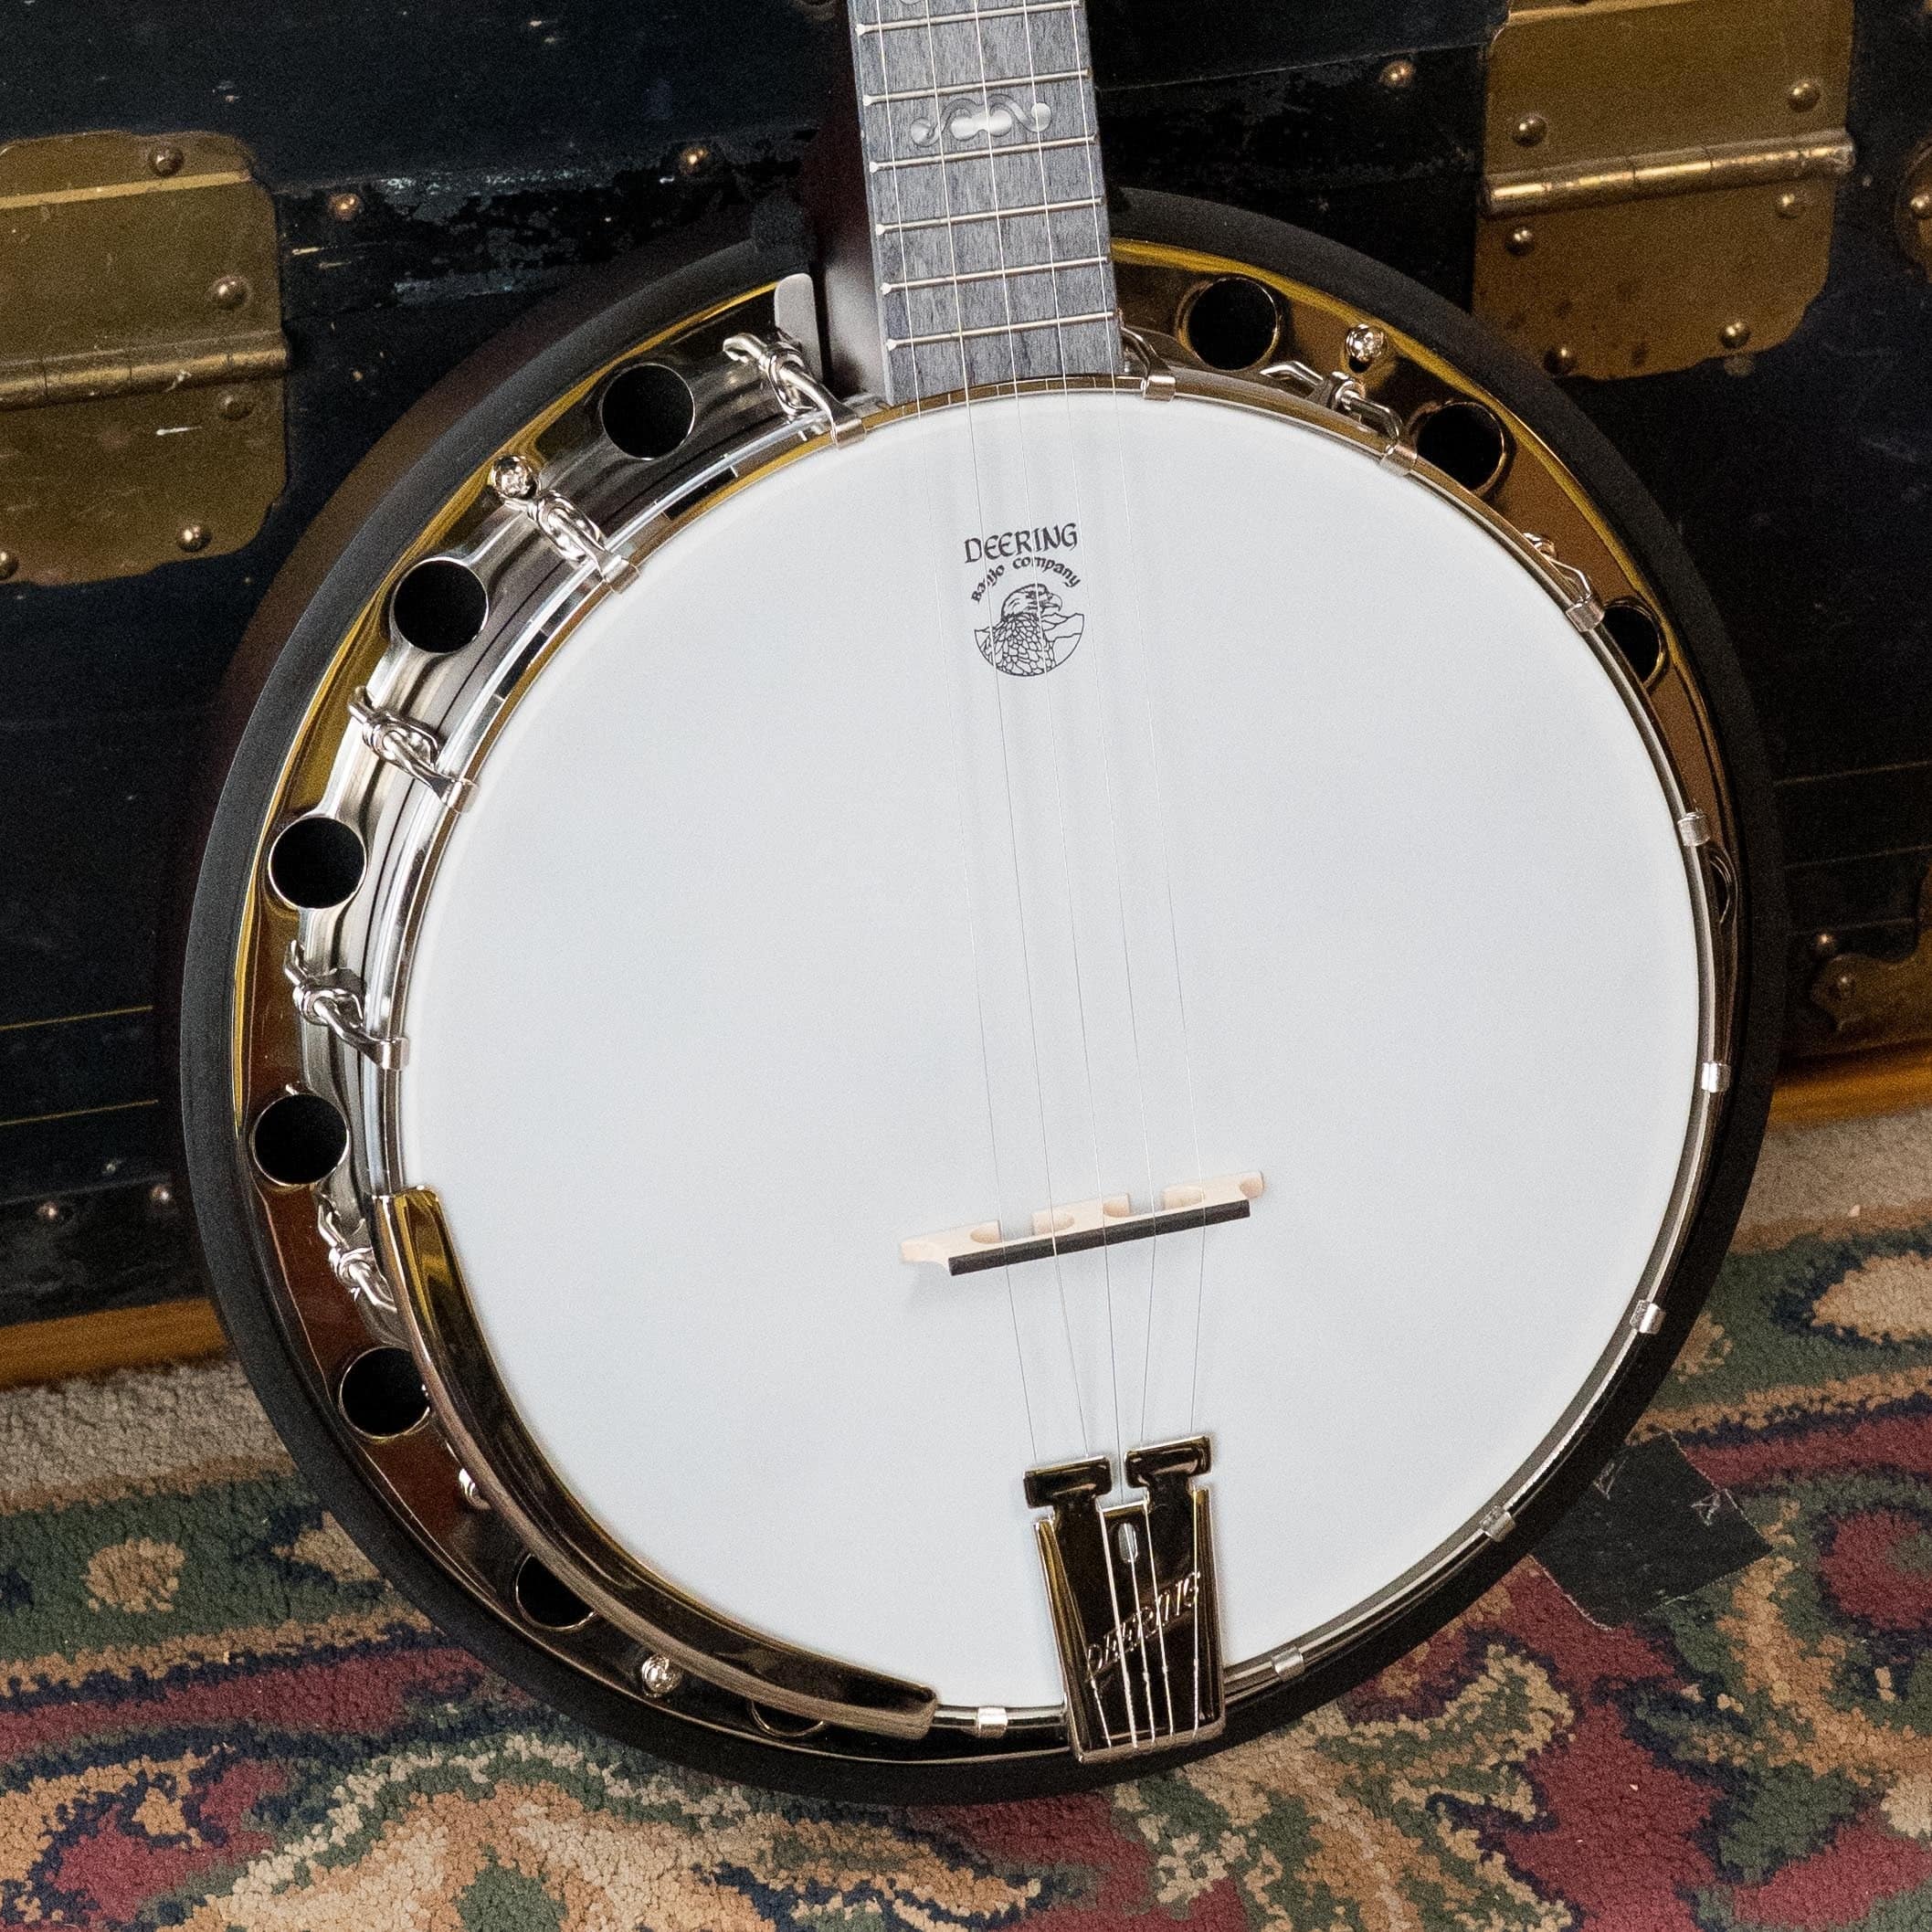
- Deering Goodtime Two ($849): an American-made resonator banjo that weighs about 6 pounds. It's the banjo we'd hand most beginners, and our Deering Goodtime banjo guide covers why Greg Deering built it and how the versions differ.
- Deering Artisan Goodtime Special ($1,599): the Goodtime with a tone ring, for a player who already knows they're sticking with it. Our rolled vs cast tone ring guide explains what that ring changes.
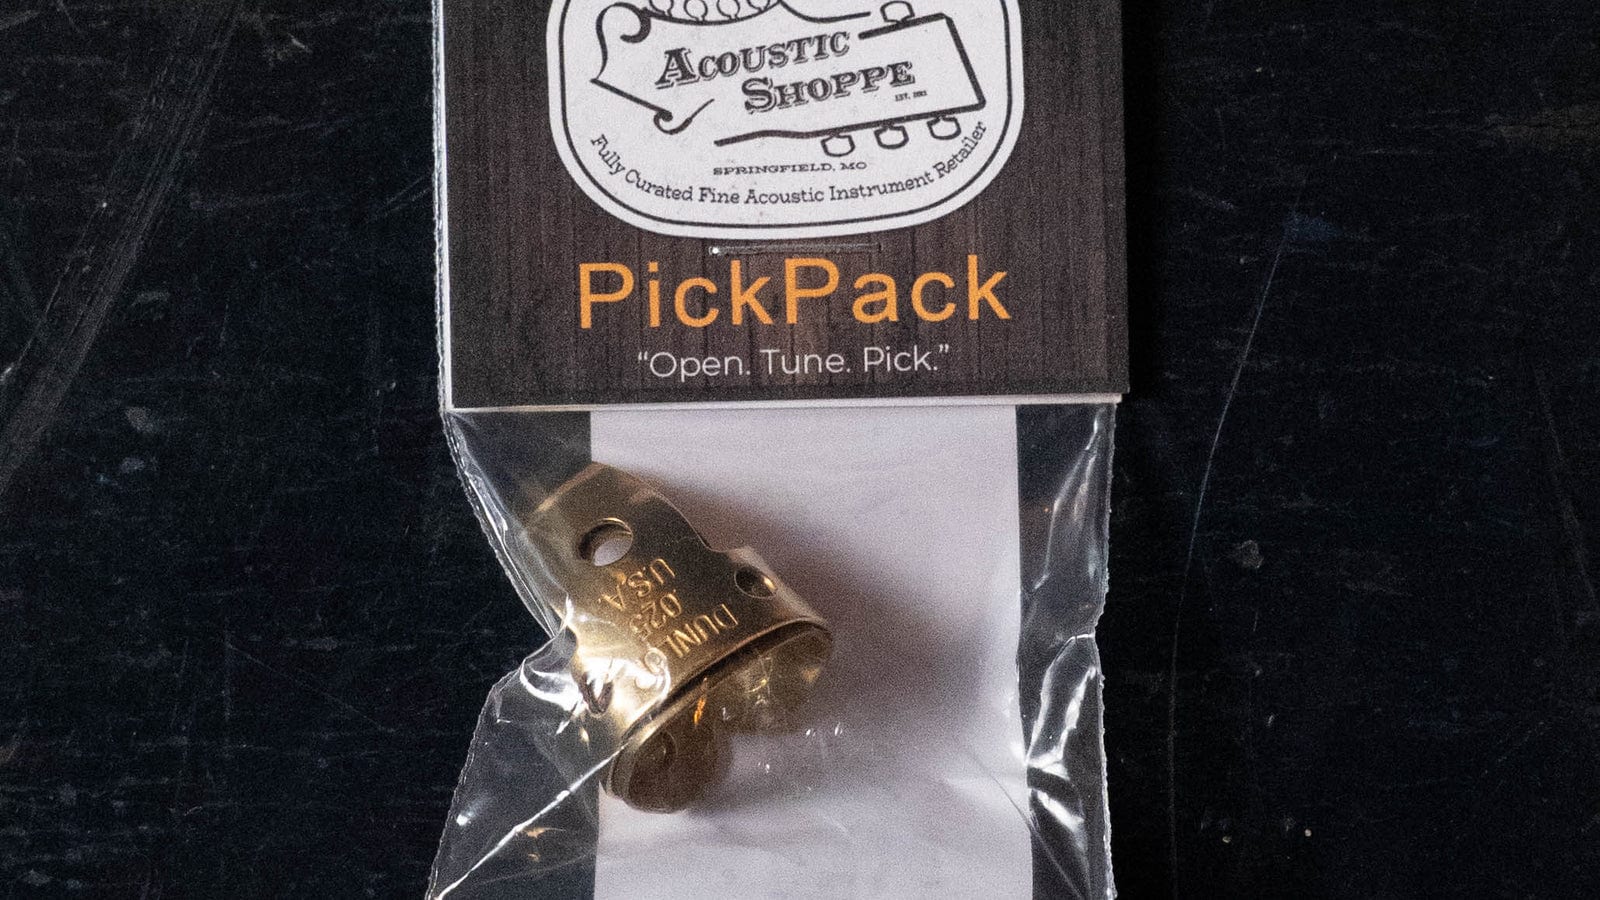
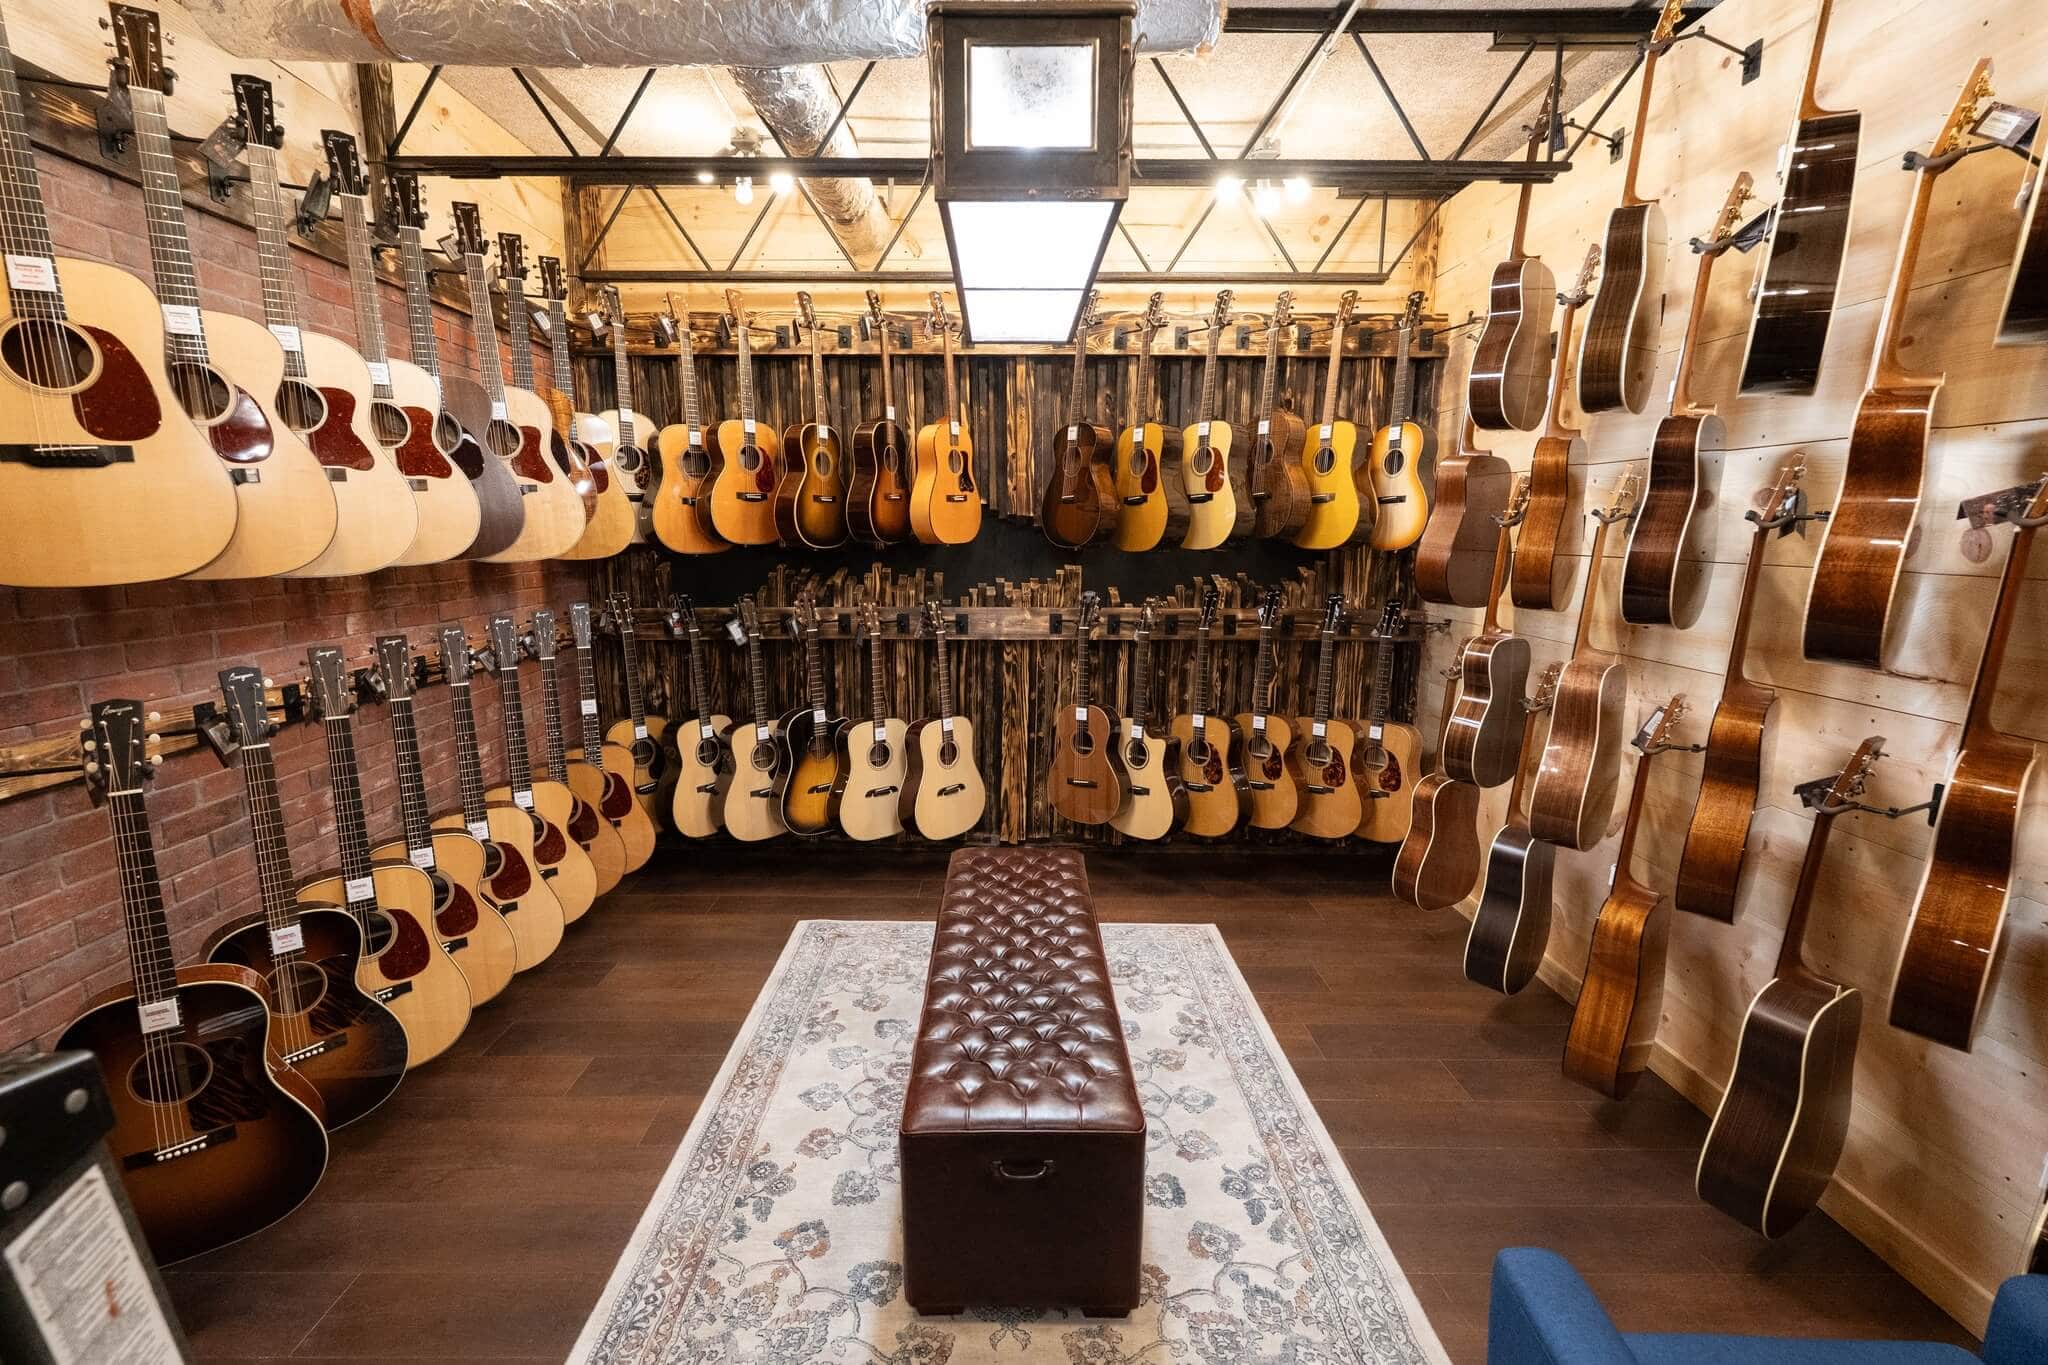
Prices and stock are from October 2026 and change quickly, so check our resonator banjos, open-back banjos and the full Deering banjo collection for what's here now. Whichever you pick, add a set of banjo finger and thumb picks, since Greg's whole right-hand lesson assumes you're wearing them.
The Artisan Goodtime Special comes with our Dread-Not Guarantee: a 30-day in-home trial, and a full year to trade it in for up to 90% of the pre-tax purchase price in credit, less round-trip shipping. If you learn banjo faster than you planned, you aren't stuck with your first one.
Related reading
- Deering Sierra or a Goodtime? How to choose your Deering
- Gold Tone banjo guide: OB-12, the Twanger and the OB-Béla
- Alan Munde: banjo man for the ages
The short version, if you want to learn banjo
Buy a banjo that holds its tune and has been set up by someone who knows banjos, because a bad setup will make you think you're the problem. Then practice slow, in two-measure pieces, with a relaxed right hand striking the middle of the pick, and go sit in the back of a jam and watch the players' hands. Do that for a couple of months and you'll be playing a couple of tunes. When you're ready to pick one out, come play a few of the banjos on our wall.